Manual & Converter: How to Access OST Files in Outlook 365

Do you want to learn how to use Outlook 365 to read, import, and access OST files in Outlook? Then stick with this article and use a manual or an OST to Office 365 Converter to fix the OST file uploading issue in Office 365. Both ways are useful in different situations.
Opening an OST file in Office 365 or an Exchange file in Outlook 365 requires careful planning and management. Accessing Exchange data via cloud Office 365 has a number of advantages, including rapid data access and minimal downtime maintenance. Many customers would like to put it on O365 because it is a convenient location to open their offline OST files.
When a user asks Exchange Administrator to export their mailbox data from OST files, the folders cannot be stored directly in Office 365 since they are cached files on the server and require Exchange / related profiles. Now that we know about numerous techniques for saving OST files to Office 365, customers may choose the one that best meets their conversion needs.
1 Method: Open an OST File in Office 365 and Upload it There.
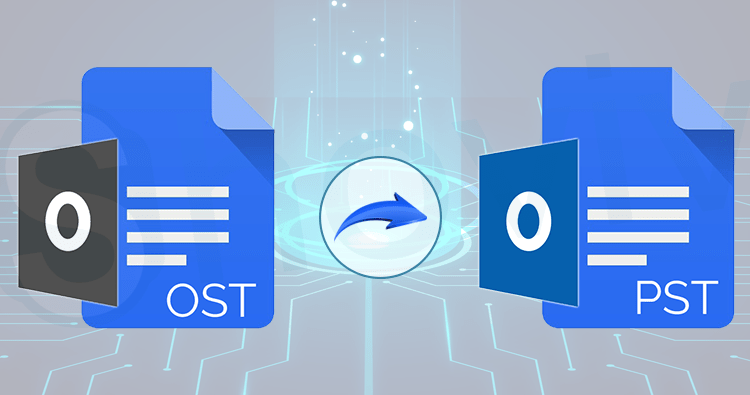
This method teaches you how to import OST files in Outlook 365 in a roundabout way. To begin, save OST file data to PST and then read PST file data in Office 365. Let’s see what we can do –
Stage 1: Convert an OST File into Outlook PST File.
- On your PC, open Microsoft Outlook.
- Go to the File menu tab and select Import & Export.
- Select the option to export to a file and then click the Next button.
- Select “Personal Folder File (.pst)” from the drop-down menu and click Next.
- You can select mailboxes and check the “Include Subfolder” box. To continue, press the Next button.
- Now, select a save location for the PST file and check the “Replace duplicate with items imported” box before clicking the Next button.
- If you don’t want to provide a password, skip this step and click the OK button.
This process will not run if your Exchange Server is not linked to an online server and is only available in offline mode. To convert an OST file to a PST file, you’ll need to use an ideal OST to PST Converter.
Stage 2: Manually Import a PST File into Office 365.
- Go to Admin Center after you’ve logged into your O365 account.
- Select the option to Exchange.
- The EMC (Exchange Admin Center) window will appear; select “Permissions” from the drop-down menu.
- Now select “Organization Management” and double-click it. A new pop-up window appears; click the Plus button and choose the mailbox import Export option. Select the Add option and then the OK button.
- Then select the Mailbox Import Export option and save.
- Select “Admin Center” from the drop-down menu, then “Setup” and “Data Migration.” To upload a file, click the “Upload file” button.
- After that, select New Import Job and enter the job name before pressing the Next button.
- Select your date and then click the Next button.
- After that, create a new window, go to the Display Network Upload SAS URL, copy it, and put it into a notepad.
- Azure Azcopy can be downloaded. To install the app, select Run.
- Allow the mailbox or file you want to import & copy the Network path while saving the PST file to Office 365.
- A new window will open; click on the “Show Network Upload SAS link.” Type AzCopy.exe/ Souce: Network path or File location/ Dest: SAS URL / V: location path where you wish to save the log file / AzCopy.log/ Y & click “Enter” in the MS Azure AzCopy app.
- Create a CSV file to map the PST file in the mailbox account after adding it.
- Open the import data box, choose both selections, and then click the Next button.
- Select a mapping file, then “Upload CSV file,” “Validate,” and then “Save.”
- After you’ve successfully imported your PST file into Outlook, click the Close button.
Using the OST to Office 365 Converter, Open an OST Files in Outlook 365.
The manual procedure is time-consuming and tedious. It is difficult for non-technical users to understand how to read an OST file in Outlook 365 or directly import an OST file into Office 365. If you need to know how to upload an OST file to Office 365 in a matter of minutes, download BitVare for OST and import an OST file to Office 365 quickly. It can import all OST files into Office 365 simultaneously and offers a speedy migration solution. OST file data can also be seen in content, properties, hex view, message headers, and raw messages using the program’s preview features. Additionally, the software may extract attachments from an OST file and save them to your local PC. You can quickly save OST file data from any Exchange Server, Outlook into Office 365 with the OST Converter program.
Conclusion
We discussed two solutions in this article, and you may try both of them to learn how to import an OST file into Outlook 365. The second technique also allows you to upload 25 emails from an OST file to Office 365 for free. So, eliminate your doubts and pick a solution that works for you.


